本篇博主带来的是Flume对接Kafka。
1. Kafka与Flume比较
在企业中必须要清楚流式数据采集框架flume和kafka的定位是什么:
- 1. flume:cloudera公司研发
适合多个生产者;
适合下游数据消费者不多的情况;
适合数据安全性要求不高的操作;
适合与Hadoop生态圈对接的操作。 - 2.kafka:linkedin公司研发:
适合数据下游消费众多的情况;
适合数据安全性要求较高的操作,支持replication。
因此我们常用的一种模型是:
线上数据 --> flume --> kafka --> flume(根据情景增删该流程) --> HDFS
2. Flume与kafka集成
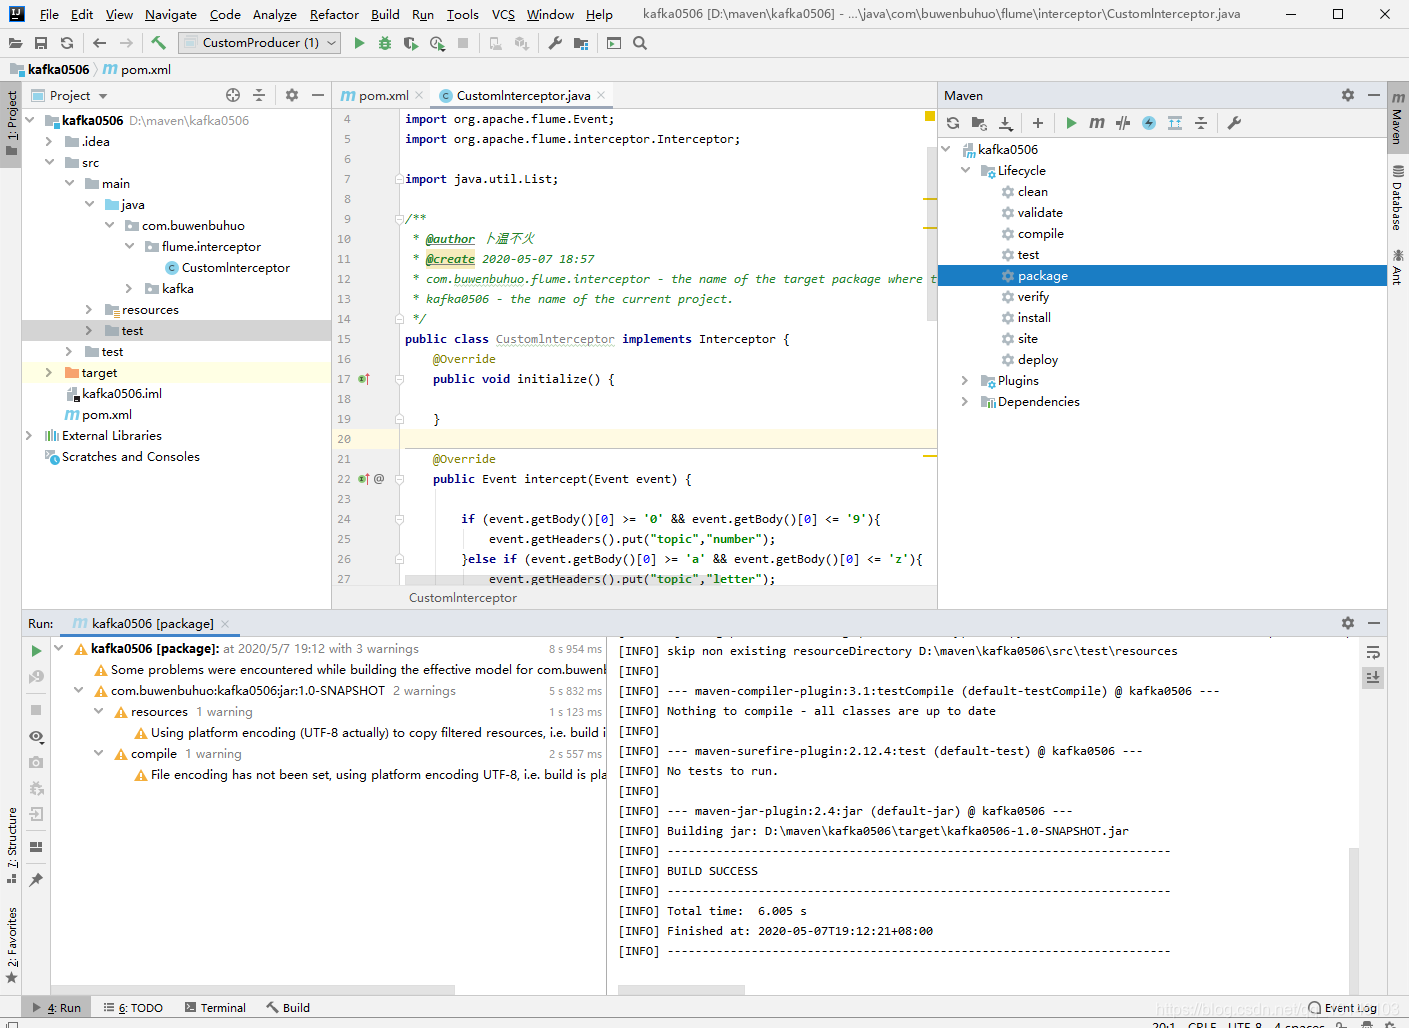
- 1. 编写代码
package com.buwenbuhuo.flume.interceptor;

import org.apache.flume.Context;
import org.apache.flume.Event;
import org.apache.flume.interceptor.Interceptor;

import java.util.List;

/**
 * @author 卜温不火
 * @create 2020-05-07 18:57
 * com.buwenbuhuo.flume.interceptor - the name of the target package where the new class or interface will be created.
 * kafka0506 - the name of the current project.
 */
public class Customlnterceptor implements Interceptor { @Override public void initialize() { } @Override public Event intercept(Event event) { if (event.getBody()[0] >= '0' && event.getBody()[0] <= '9'){ event.getHeaders().put("topic","number"); }else if (event.getBody()[0] >= 'a' && event.getBody()[0] <= 'z'){ event.getHeaders().put("topic","letter"); } return event; } @Override public List<Event> intercept(List<Event> events) { for (Event event : events){ intercept(event); } return events; } @Override public void close() { } public static class Builder implements Interceptor.Builder{ public Interceptor build(){ return new Customlnterceptor(); } @Override public void configure(Context context) { } }
}
- 1
- 2
- 3
- 4
- 5
- 6
- 7
- 8
- 9
- 10
- 11
- 12
- 13
- 14
- 15
- 16
- 17
- 18
- 19
- 20
- 21
- 22
- 23
- 24
- 25
- 26
- 27
- 28
- 29
- 30
- 31
- 32
- 33
- 34
- 35
- 36
- 37
- 38
- 39
- 40
- 41
- 42
- 43
- 44
- 45
- 46
- 47
- 48
- 49
- 50
- 51
- 52
- 53
- 54
- 55
- 56
- 57
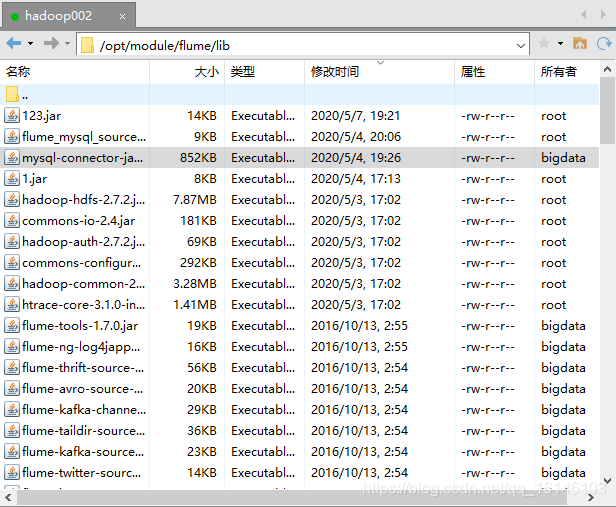
- 2. 打包上传
- 3. 配置flume(nc-kafka.conf)
[bigdata@hadoop002 job]$ vim nc-kafka.conf

# define
a1.sources = r1
a1.sinks = k1
a1.channels = c1

# source
a1.sources.r1.type = exec
a1.sources.r1.command = tail -F -c +0 /opt/module/datas/flume.log
a1.sources.r1.shell = /bin/bash -c

# Describe the source
a1.sources.r1.type = netcat
a1.sources.r1.bind = hadoop002
a1.sources.r1.port = 44444
a1.sources.r1.interceptors = i1
a1.sources.r1.interceptors.i1.type = com.buwenbuhuo.flume.interceptor.Customlnterceptor$Builder

# sink
a1.sinks.k1.type = org.apache.flume.sink.kafka.KafkaSink
a1.sinks.k1.kafka.bootstrap.servers = hadoop002:9092,hadoop003:9092,hadoop004:9092
a1.sinks.k1.kafka.topic = first
a1.sinks.k1.kafka.flumeBatchSize = 20
a1.sinks.k1.kafka.producer.acks = 1
a1.sinks.k1.kafka.producer.linger.ms = 1

# channel
a1.channels.c1.type = memory
a1.channels.c1.capacity = 1000
a1.channels.c1.transactionCapacity = 100

# bind
a1.sources.r1.channels = c1
a1.sinks.k1.channel = c1
- 1
- 2
- 3
- 4
- 5
- 6
- 7
- 8
- 9
- 10
- 11
- 12
- 13
- 14
- 15
- 16
- 17
- 18
- 19
- 20
- 21
- 22
- 23
- 24
- 25
- 26
- 27
- 28
- 29
- 30
- 31
- 32
- 33
- 34
- 35
- 36
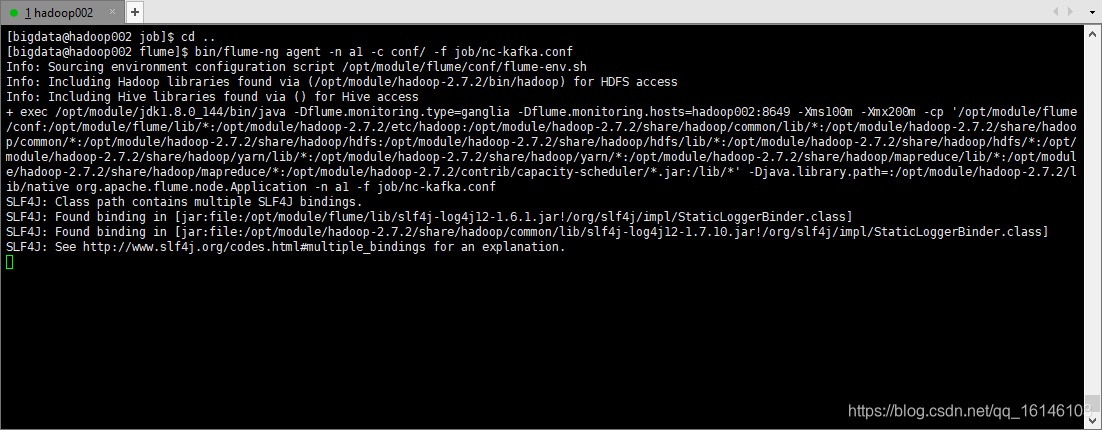
- 4. 启动flume
[bigdata@hadoop002 flume]$ bin/flume-ng agent -n a1 -c conf/ -f job/nc-kafka.conf
- 1
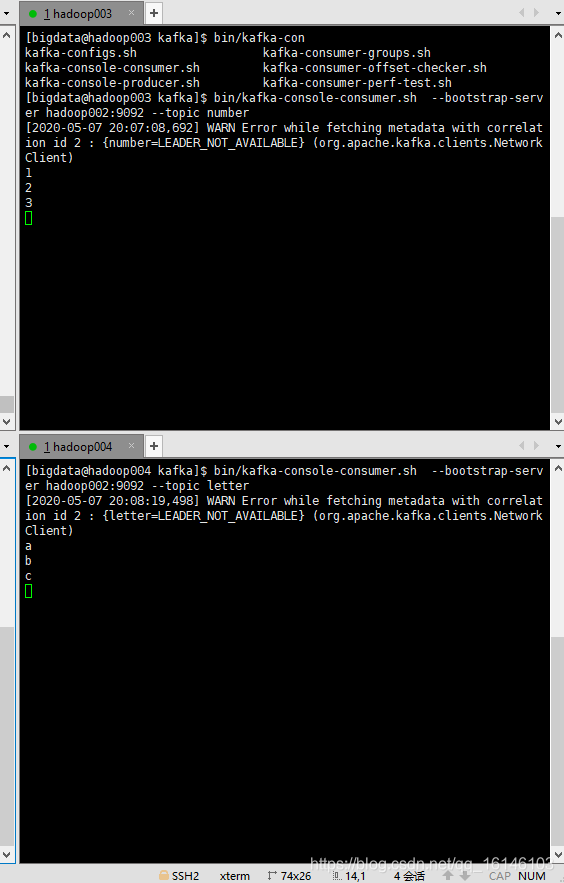
- 5. 分别在hadoop003,hadoop004启动消费者
[bigdata@hadoop003 kafka]$ bin/kafka-console-consumer.sh  --bootstrap-server hadoop002:9092 --topic number
[bigdata@hadoop004 kafka]$ bin/kafka-console-consumer.sh  --bootstrap-server hadoop002:9092 --topic letter
- 1
- 2
- 6. 启动端口测试
[bigdata@hadoop003 module]$ nc hadoop002 44444
- 1
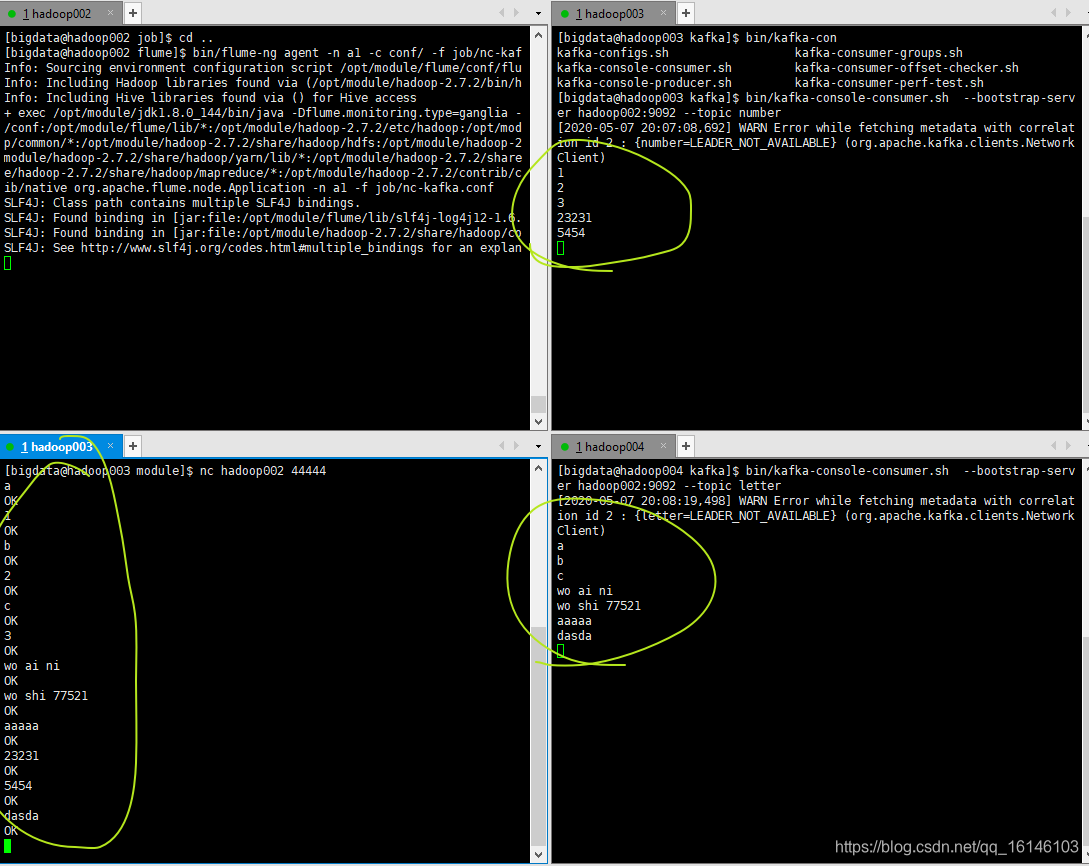
可以看到最终结果图与我们设想是一致的,所以此次实验成功。
本次的分享就到这里了,

看 完 就 赞 , 养 成 习 惯 ! ! ! \color{#FF0000}{看完就赞,养成习惯!!!} 看完就赞,养成习惯!!!^ _ ^ ❤️ ❤️ ❤️
码字不易,大家的支持就是我坚持下去的动力。点赞后不要忘了关注我哦!
文章来源: buwenbuhuo.blog.csdn.net,作者:不温卜火,版权归原作者所有,如需转载,请联系作者。
原文链接:buwenbuhuo.blog.csdn.net/article/details/105979154